


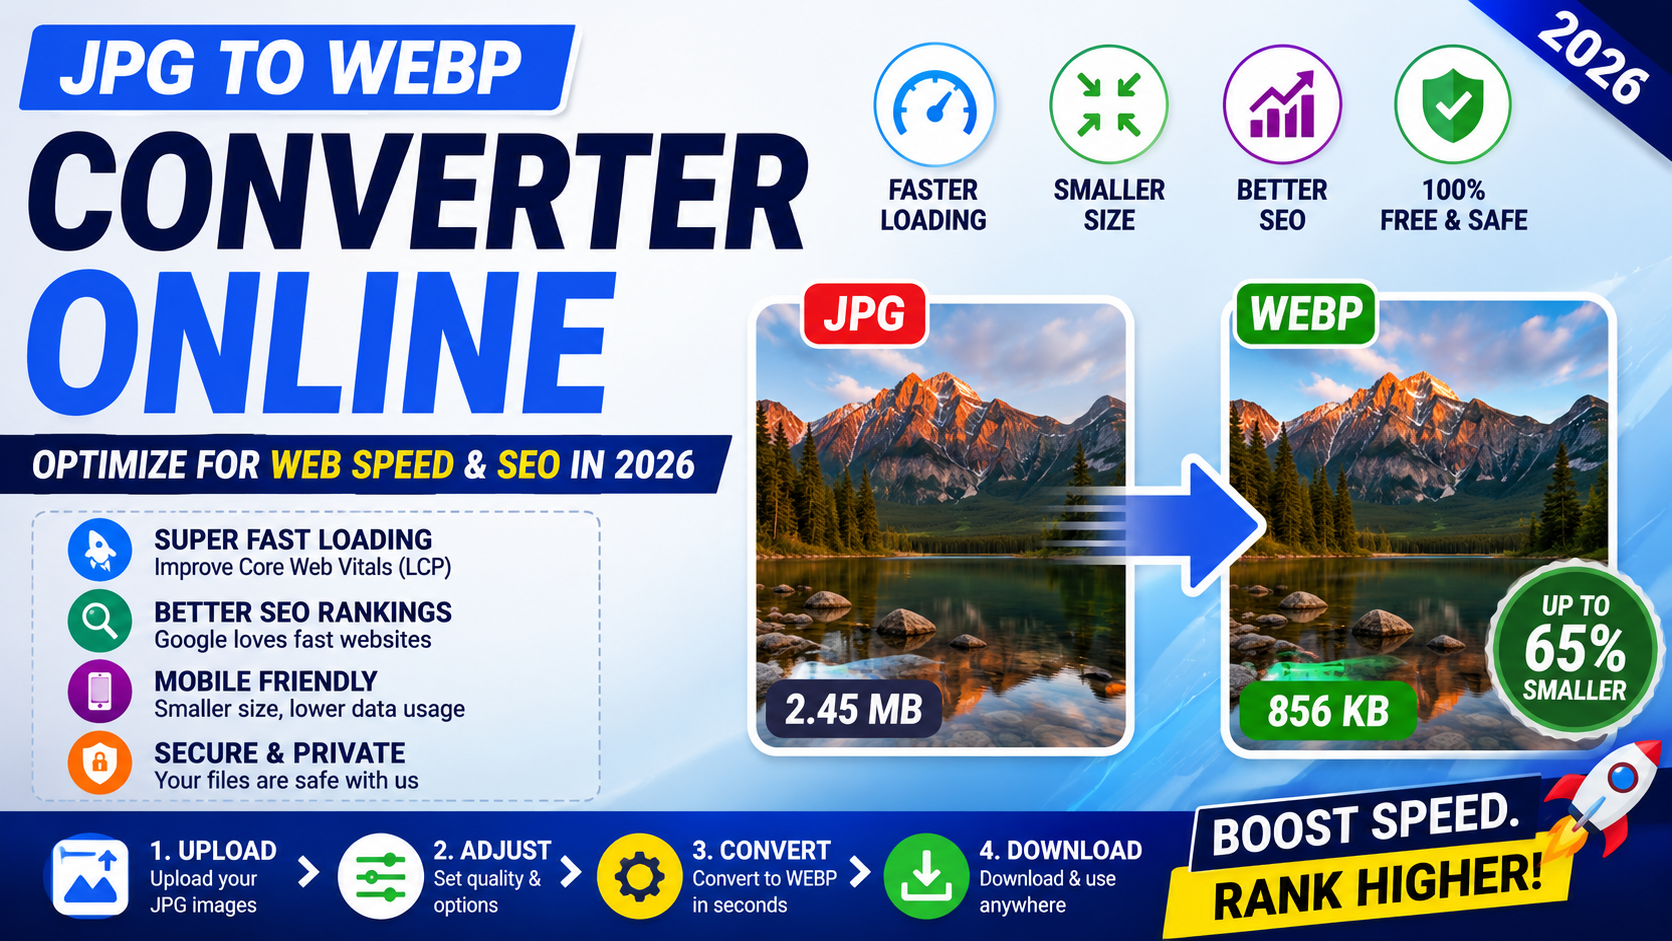
Convert JPG to WebP only after deciding the display dimensions. A 4000-pixel camera image remains unnecessarily heavy if the page shows it at 800 pixels, even when the encoding becomes more efficient.
Keep the JPG source, create a WebP derivative and compare both at the size visitors will see. There is no quality setting that gives the same result for every photograph.
What WebP changes
WebP supports lossy and lossless compression, transparency and animation. A JPG source is normally opaque and already lossy. Converting it to lossy WebP applies a new encode to the pixels decoded from that JPG.
Google's WebP documentation describes predictive lossy coding and lossless coding. Its published comparisons are useful context, not a promise for your file. Image detail, dimensions, encoder and settings determine the actual result.
Use the active converter within its limits
The Universal Image Converter accepts one JPEG that the browser can decode and exports a real WebP through Canvas. Processing happens in the browser. The file limit is 50 MB, and decoded images must stay within 40 megapixels.
The quality slider runs from 10 to 100 and starts at 88. Maximum width can be set up to 12,000 pixels, but it only scales down. The tool does not upscale, process a batch or copy ordinary source metadata.
- Select the JPG and confirm its dimensions.
- Choose WebP output.
- Enter the largest width the page really needs.
- Start near the default quality rather than at 100.
- Convert and note the output byte size.
- Inspect faces, text, gradients and hard edges.
- Download and test the WebP on the actual page.
Resize before chasing compression
Pixel dimensions often affect bytes more than a small quality adjustment. Use responsive image variants when the same photo appears as a card, article image and large hero. Sending one oversized file everywhere wastes bandwidth.
Do not enlarge a small JPG before converting. Upscaling creates more pixels but not more captured detail. It can make the output larger and softer.
Find quality by comparison
Quality numbers are encoder controls, not universal percentages of original quality. A setting of 80 in one application need not match 80 in another. Create two or three candidates and inspect them at 100 percent plus normal display size.
Watch skin, hair, foliage, fabric, small text and smooth skies. If the result shows blocks or smeared detail, raise quality. If it looks unchanged at its display size, try a slightly lower setting and compare again.
Measure the delivered page
A smaller image helps only if the page actually serves it. Check the browser network panel or page source to make sure the WebP URL loads. Confirm its response content type and caching policy. A stale JPG reference can make the conversion irrelevant.
Use width and height attributes or CSS aspect ratio so the browser can reserve space before the image arrives. Compression does not fix layout movement caused by missing dimensions.
Keep a fallback where your audience needs it
Modern browsers broadly support WebP, but an app, email client, feed or older workflow may not. MDN's format guide lists current browser support and format traits.
For a website, the
Metadata and color can change
Canvas export normally creates a new file without copying ordinary EXIF fields such as location, capture date and camera model. That is not a complete privacy guarantee. Inspect the downloaded file when metadata policy matters.
Embedded color profiles may be normalized by the browser. Compare skin tones and brand colors in the final environment. Keep the original when color-managed editing or print delivery is required.
A realistic website example
Suppose a 3000 by 2000 JPG appears in a blog card at 720 pixels wide. Set maximum width to 720, export WebP near quality 88, then compare it with a resized JPG at a similar visual quality. Record bytes for both instead of assuming WebP wins by a fixed percentage.
Repeat the test for one easy image and one difficult image. A clean studio background compresses differently from leaves, crowds or noise. Use the results to choose site defaults, then spot-check future uploads.
Use clear filenames and cache changes
Give the WebP a descriptive filename instead of leaving a camera number or generic download name. Keep the extension accurate. When replacing an existing site image, change the filename or clear the relevant cache so visitors do not keep receiving an older asset.
Check the direct image URL after deployment. It should return the WebP file, not an HTML error page. A successful local preview does not prove that the web server uploaded or served the file correctly.
Compression does not replace accessibility
WebP changes image storage, not meaning. Add useful alternative text in the page markup when the image carries information. Leave decorative images with the appropriate empty alternative text. Do not place essential instructions only inside a compressed picture.
Text baked into an image can become harder to read after resizing and compression. Use real HTML text where possible. If text must remain in the image, inspect it on a phone and at browser zoom before publishing.
JPG to WebP questions
Does WebP always make JPG smaller?
No. Results depend on content, dimensions and encoder settings.
Should I choose quality 100?
Usually not by default. Compare lower settings at the intended display size.
Can the tool convert many files together?
No. The active Universal Image Converter handles one image at a time.
Will metadata remain?
Ordinary metadata is not copied by the current Canvas export.
Should I delete the JPG?
No. Keep it as a source or compatibility fallback.


 MagicalToolz AI Support
Comments (0)
Use comments for article-specific feedback. Use the contact page for bugs and support requests.
Leave a Comment
No comments yet. Be the first to share something useful.